
Registration for this schedule starts on 12/01/2025 and ends on 10/08/2026
Participants must be 18 years to 120 years old when the program starts.
PROTOTYPE TO PRODUCTION: MAKING BLANKING DIES
INSTRUCTOR: JAYNE REDMAN
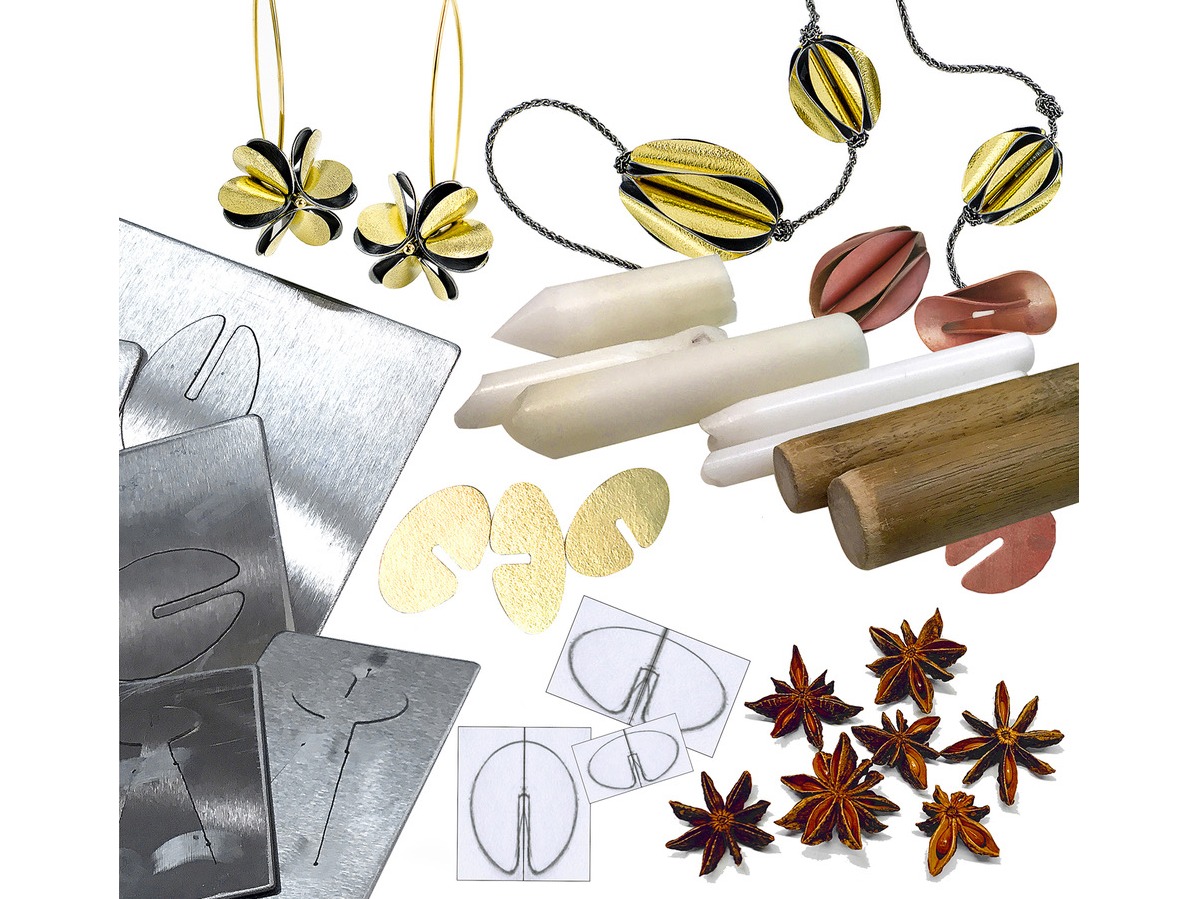
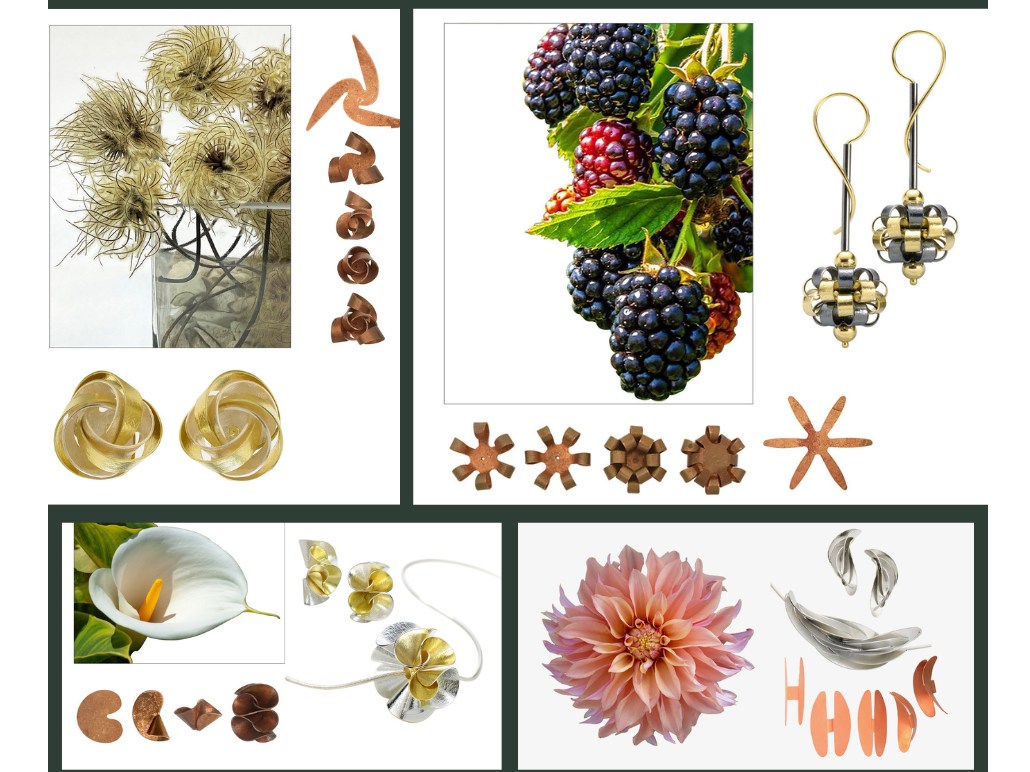
Take your designs from flat to three dimensional with this in-depth workshop from Jayne Redman. Learn the innovative design and assembly concepts that Jayne has developed over 40 plus years of metalsmithing. Jayne will teach you the principles behind centrally radiating forms, properly nested forms, spacing for slotted forms, faux hinge assembly, and tab construction. She will show you how she uses her computer as a design tool and how to duplicate the same steps manually. Learn how to make blanking (pancake) dies to quickly cut out the shapes you develop in class and get lost in the process of experimenting with forming and assembly. Speed up your production or incorporate identical shapes in one-of-a-kind pieces.
Techniques taught:
• Developing flat patterns used for three dimensional forms
• Prototyping with heavy aluminum foil
• Using your computer as a design tool or creating the same design manually.
• Layout for a correctly designed blanking die
• How to correctly use a saw frame and choosing saw blades for sawing tool steel
• How to determine rotational angle of your Bench Pin or WorkRing relative to thickness of tool steel and saw blade
• How to saw a blanking die out of tool steel
• How to use a hydraulic press or bench vise to blank out metal with blanking dies
• Tips and tricks using flex shaft accessories
• How to make your own forming tools
Kit fee $135 – payable to Jayne Redman
Skill Level: Basic jewelry skills - sawing, filing, using a flex shaft, and hand tools
TOOLS INCLUDED IN THE KIT:
Tool Steel – 2″ x 4″ x 1/32” for a practice blanking die
Circular protractor
Cast acrylic – 4 pieces
Thermal Plastic
36-gauge Aluminum Foil
Saw Blades, 4 dozen each, Super Pike,
Skip tooth and spiral saw blades, 1.5mm round bur, #52 drill bit, #60 drill bits
Separating discs with mandrel
Snap on discs with mandrel
Faux Tubing Kit
Wooden dowel assortment
Handouts
Tools and Materials for this Class: (Rio Grande links are used for examples)
Flexible shaft: Rio Grande - Or Dremel: Home Depot
Center punch: Rio Grande - Or 1.5mm ball bur: Rio Grande
Dividers: Rio Grande
Bur life: Rio Grande
5" or 6" deep saw frame: Rio Grande
Green Lion Big Belly saw frame: Rio Grande
Cylinder Burs
Flat or half round hand file, #0 or #1 cut, Rio Grande - Or belt sander from a hardware store
Copper and/or brass for samples and prototypes, 23 gauge or thinner to use with blanking dies 1/32” thick – 19 gauge or thinner to use with blanking dies 3/64” thick
Shears like Joyce Chen Shears to cut thin metal: Amazon or Kitchen store
Office supply store like Staples or Amazon:
Scissors, ruler, Exacto knife, paper, including tracing paper and white printer/copier paper. Drawing materials including rulers, sharpie markers, pencils and erasers, compasses
Double stick tape
Rubber Cement
Plastic circle and oval templates,
Apron
Dust mask
Safety Glasses and eye magnification if needed
Optional:
A computer with Adobe Photoshop installed
Silver or gold sheet: 23 gauge or thinner to use with blanking dies 1/32” thick – 19 gauge or thinner to use with blanking dies 3/64” thick or we can roll out 22 gauge and 20 gauge metal
Silver or gold wire for finished pieces - assorted gauges. I use 20 gauge for ear wires.
Wolf Wax Trimmer used with a #30 handpiece and a cylinder bur to create 90-degree walls on a silhouette die for mirror image pieces (I will have some for students to use and buy)
Wolf Collar used to hold a #30 handpiece vertically
Highly Recommended - Additional saw blades 2/0: Super Pike Saw Blades - Rio Grande - You will receive 4 dozen in your kit, but you may want more!
Extra #60 drill bits
***Jayne will provide Rotational Bench Pins, Work Rings, and Magnetic Protractors for students to use for in-person classes. They will be available for purchase at a student discount. She will also have extra materials available for purchase.
MASTER SERIES REFUND POLICIES
**MINIMUM OF 6 STUDENTS REQUIRED FOR THIS CLASS
Jayne Redman
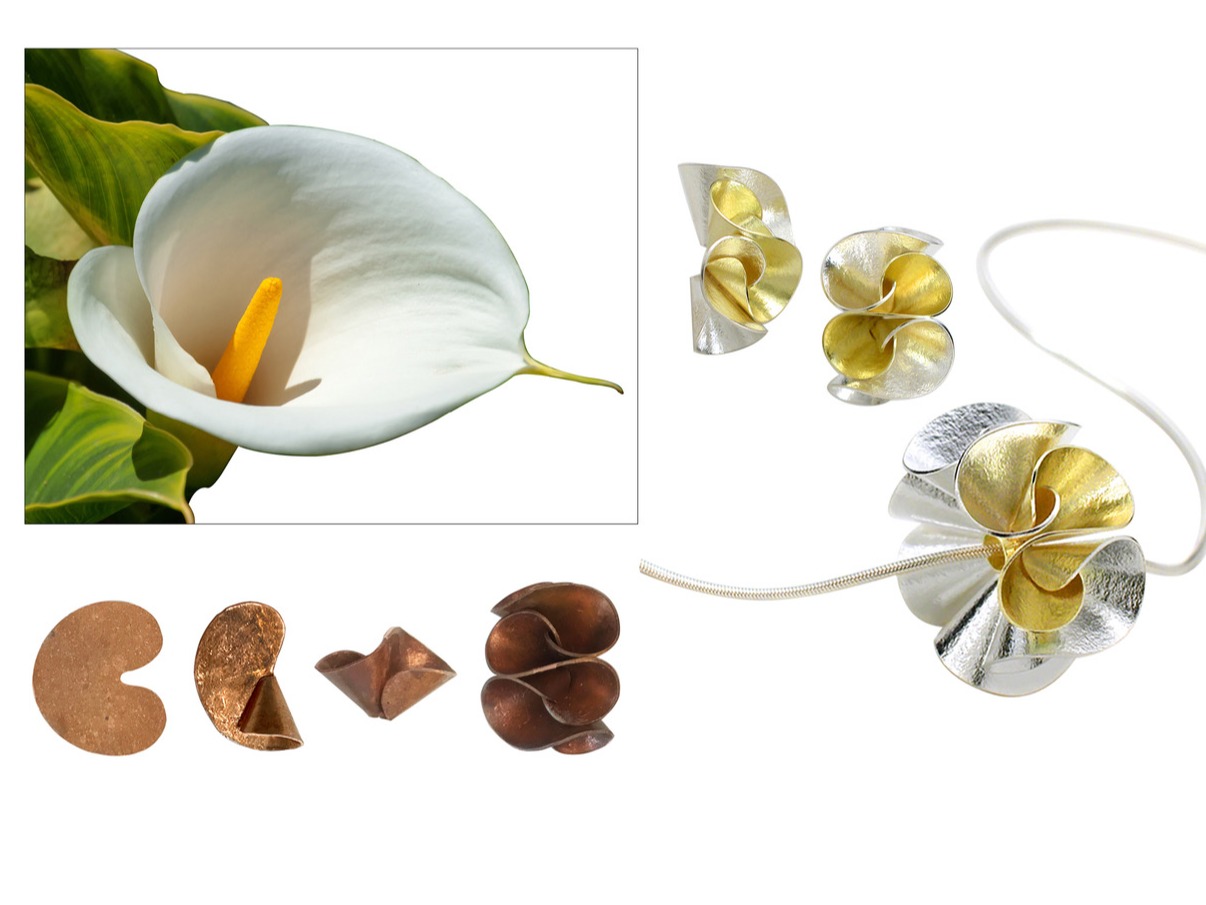
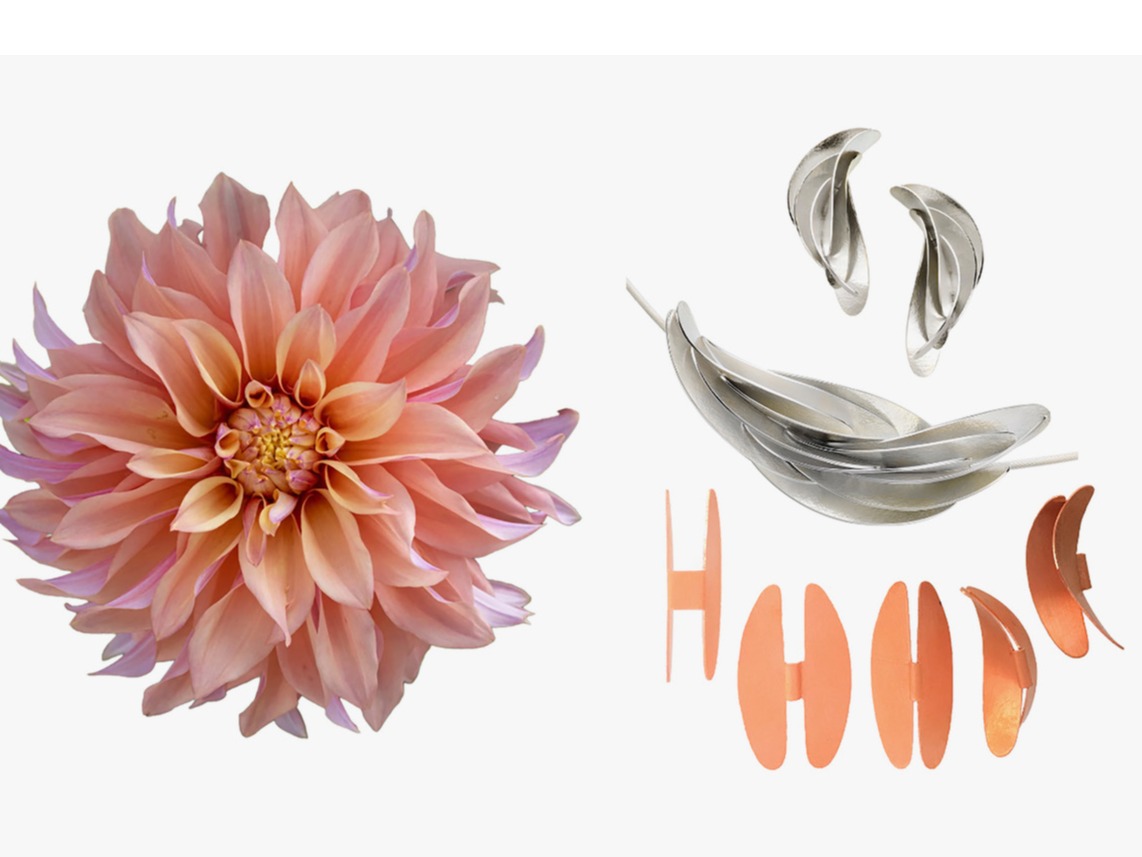
Nature provides an endless reference for imagination and invention. The linear quality of stems and the fullness of flower buds inspire my jewelry. I enjoy integrating mechanics with design, allowing each piece to function in a visually intriguing way. I work with multiples of the same shape engineering them to fit precisely giving an abstract impression of their botanical origin. Many years of metalsmithing have taught me the power of simplicity. My forms begin as flat metal shapes and arrive as small sculptures. Their complexity is in their conception as curving planes of origami.
Jayne Redman, a Maine native, earned her B.F.A. in Jewelry and Silversmithing from the Maine College of Art in 1977. She began her jewelry career in New York as a design and production assistant in the fashion jewelry industry. She started her own company, Jayne Redman Jewelry, in 1982 and exhibited her jewelry nationally at Fine Craft Shows. Jayne is the recipient of numerous jewelry design awards including the Niche Awards for Silver Jewelry, Lapidary Journal’s Jewelry Arts Award and was a nominee for the Saul Bell Awards.
Jayne has been featured in articles for Crafts Report, AJM/MJSA Journal, Lapidary Journal, Professional Jeweler, Niche, and Ornament magazines. Examples of her work illustrate the books Art Jewelry Today by Donna Z. Meilach, Making Metal Beads by Pauline Warg, 500 Earrings and 20th Century Jewelry - The Best of the 500 Series by Lark Books. She was a contributor to the books Profiting by Design by Marlene Richey, Celebrating 70 by Karen Lorene, and Linking our Lineage: Twelve Techniques from Twelve Master Smiths edited by Victoria Lansford. She contributed the chapter, The Keum-boo Process: Step by Step, to the book Jewelry Metals edited by James Binnion for the MJSA Press.
After many years of designing and making jewelry for Fine Craft stores and Jewelry Galleries, Jayne now focuses on developing her line of jewelry tools and teaching her innovative engineering and production techniques at Jewelry Schools and Guilds around the country and at her studio in Southern Maine.
Please contact William Holland School of Lapidary Arts if you have any questions.